
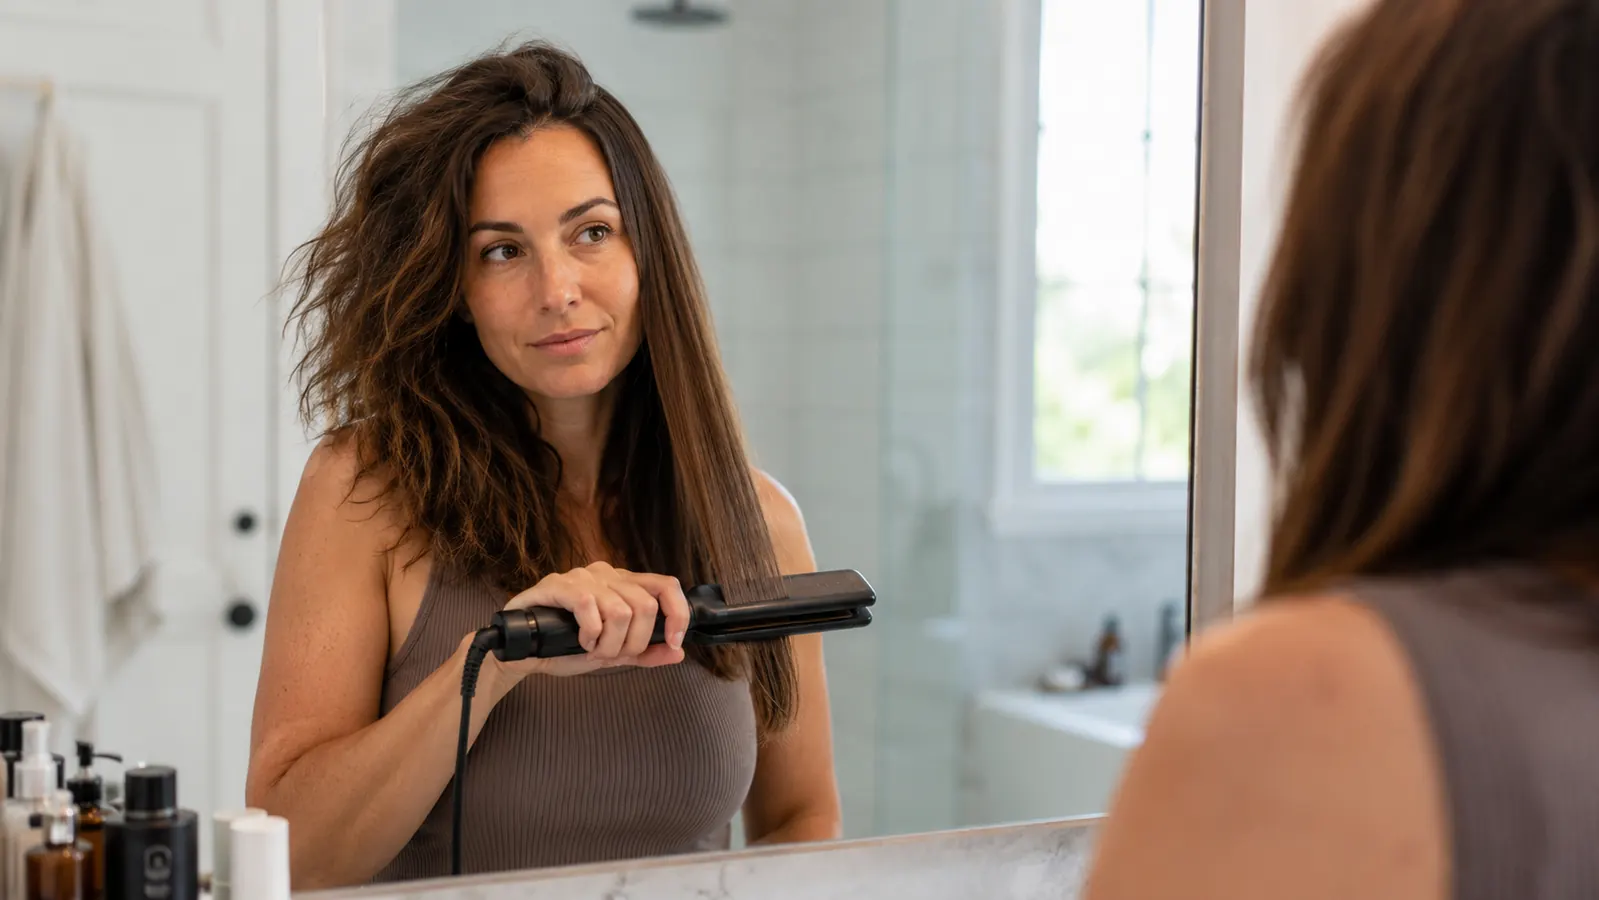
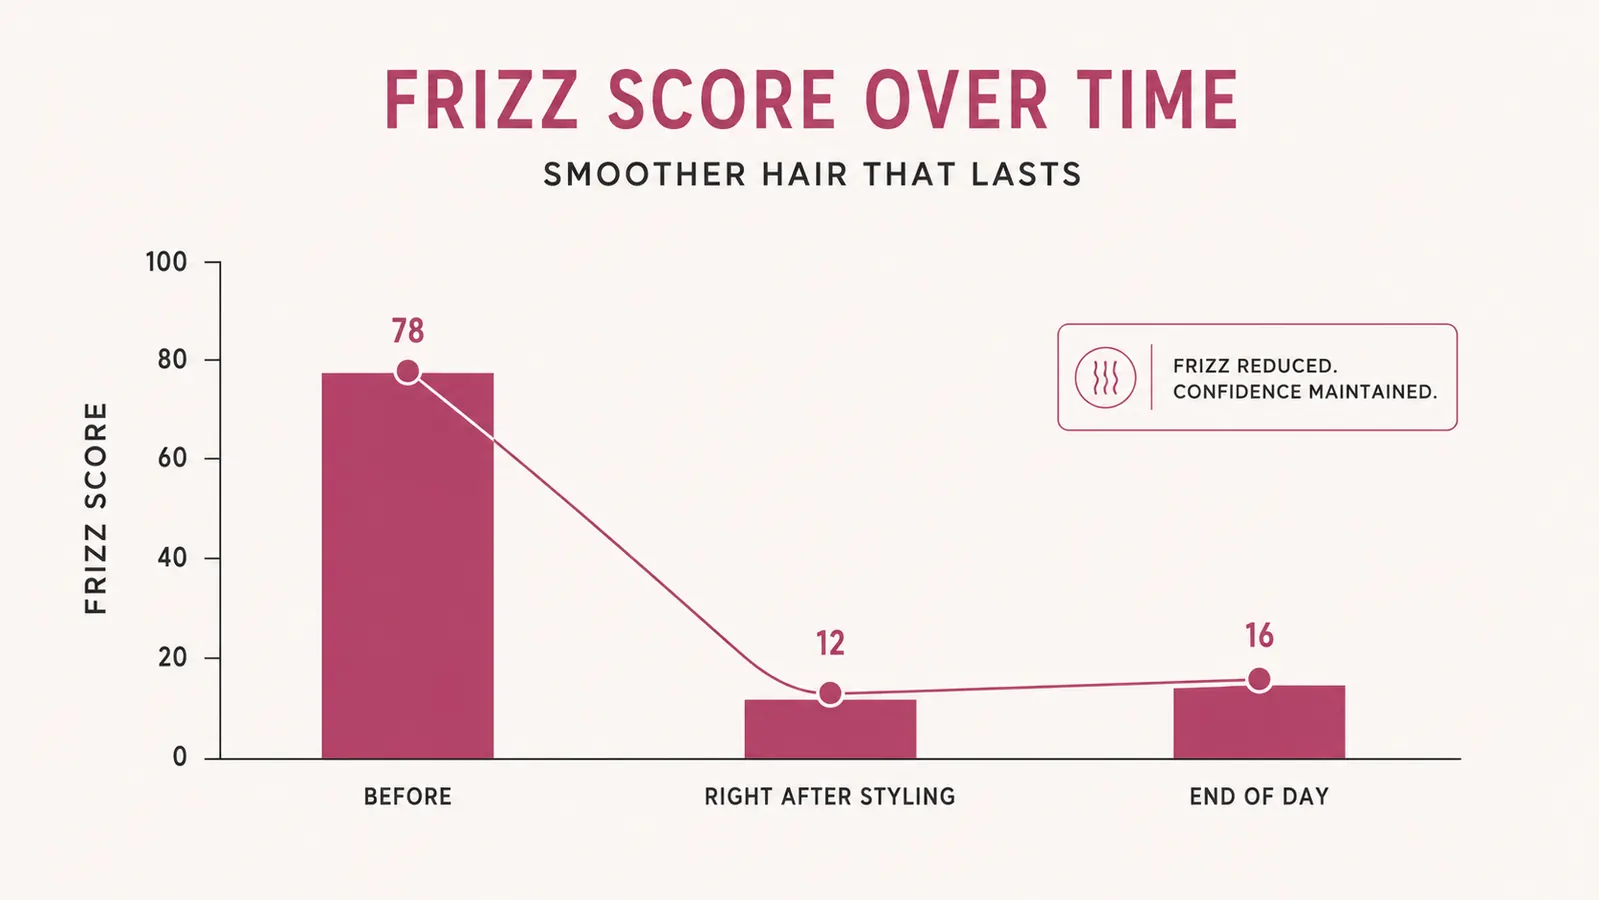
Frizz isn't really about your hair being unruly. It's about moisture getting into the outer layer of the hair shaft and lifting the cuticle before you've had a chance to seal it down. That's why the same blowout that looks glassy at 8am looks like a halo by noon, especially in humidity or after a workout. I used to think I just had "frizzy hair" as a permanent trait until I changed the order of my routine, not the products in it, and the frizz dropped by more than half within a week.
This is the exact five-step routine I use with a heated straightener brush, the TYMO Ring, to get smooth hair in under 10 minutes without the arm fatigue or scalp burns that come with a traditional flat iron. It works on fine hair, thick hair, and the awkward in-between texture that won't hold a curl but won't lay flat either. I've walked friends through this same sequence, including one with naturally curly hair who was convinced no straightener would ever hold on her, and it held through a humid outdoor wedding.
Before we get into the steps, it helps to understand why most people's frizz routine fails. They buy a good tool, then use it the same way they'd use a flat iron: wet-to-damp hair, no sectioning, one fast pass, done. The tool isn't the problem in that scenario. The sequence is.
Skip the trial and error. This is the brush that actually holds a pass.
The TYMO Ring uses ionic ceramic heating with a rounded bristle design, so you get flat-iron smoothness without the risk of creasing or snagging. Rated 4.4 stars across more than 83,000 reviews.
Amazon Check Today's Price on Amazon →Step 1: Start from damp, not soaking wet, hair
Most frizz problems start before the heat tool ever touches your hair. If you're styling on fully saturated hair, you're fighting a losing battle because the cuticle is wide open and absorbing every bit of ambient humidity in the room. Towel-dry with a microfiber towel or an old cotton t-shirt (never a terry towel, it roughs up the cuticle) until your hair is damp but not dripping, roughly 70 to 80 percent dry if you're air-drying first.
I keep a spray bottle with water and a few drops of leave-in conditioner on my counter for the days I let my hair air-dry too far. A light re-mist before I pick up the brush keeps the strand pliable enough to actually take the shape I'm giving it, instead of just crisping on the outside.
Apply a heat protectant at this stage, not after you've already started sectioning. I use about a dime-sized amount worked from mid-shaft to ends, avoiding the roots so I don't end up with greasy-looking hair by hour three. If you have fine hair, look for a lightweight spray protectant rather than a cream, since creams can weigh fine strands down and make frizz look worse once it sets.
If your hair is naturally curly or very coarse, this prep stage matters even more. Curly hair holds more moisture in its structure than straight hair does, so skipping the protectant step or rushing the drying process is usually the reason a straightening session that looked perfect in the mirror falls apart within an hour.
Step 2: Section your hair into four to six clean parts
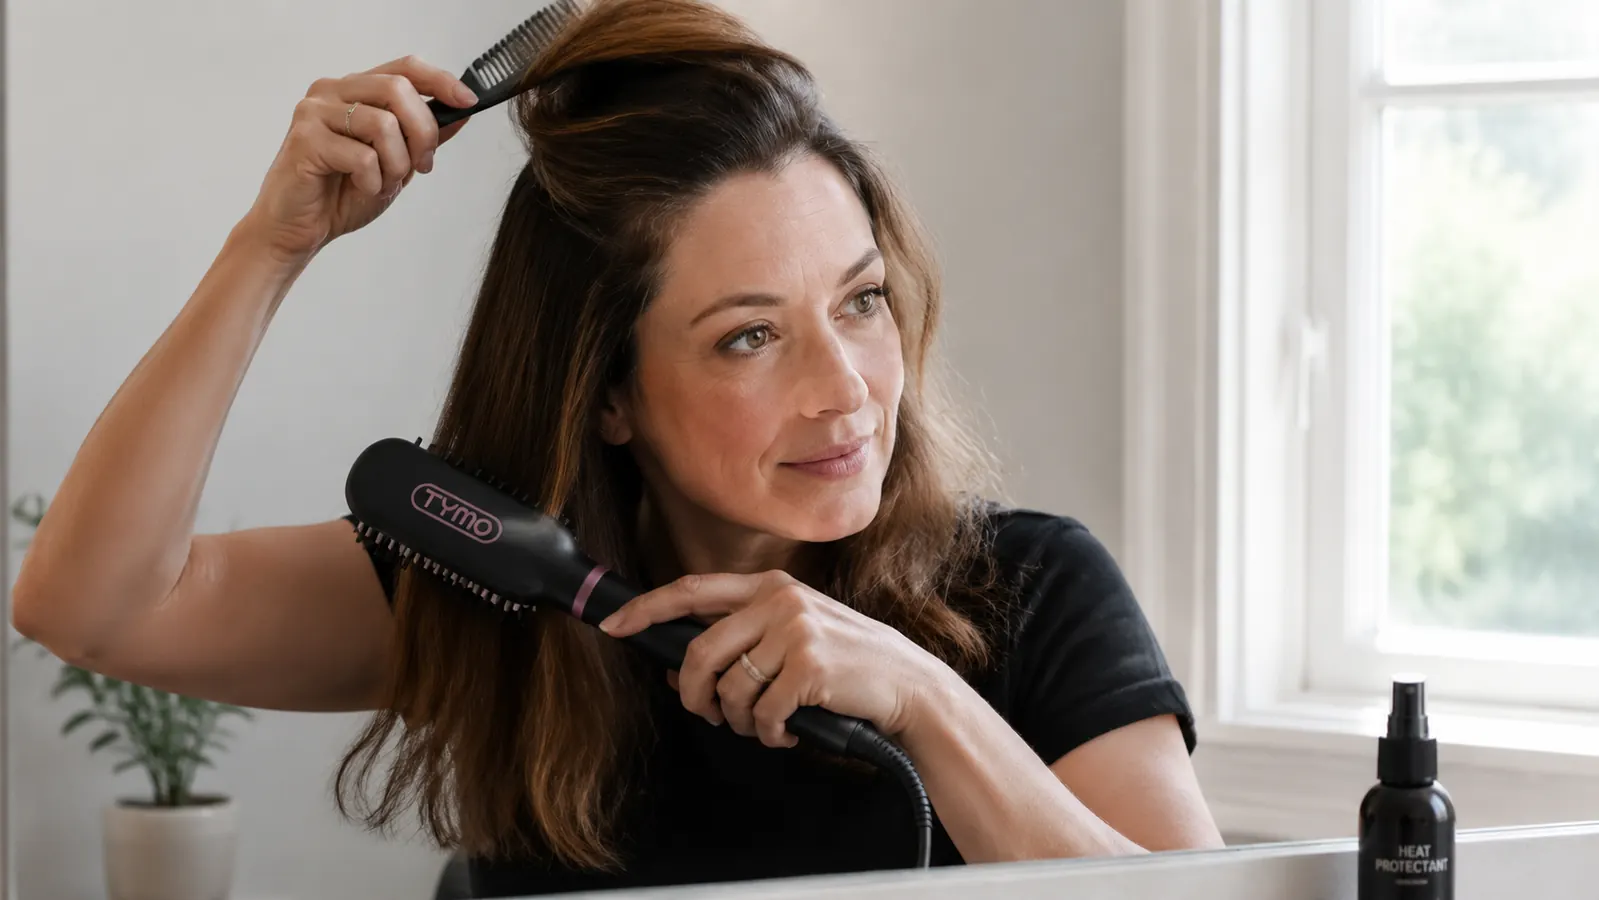
This is the step people skip and it's the one that causes the most frizz. If you try to run a brush through your whole head at once, the bottom layers get missed, the heat doesn't distribute evenly, and you end up going back over the same sections two or three times, which is what actually damages hair and creates flyaways.
Clip your hair into a top section, two side sections, and a back section, then divide further if your hair is thick. Each section should be no wider than about two inches, roughly the width of the TYMO Ring's bristle bed. Working in smaller sections means one clean pass per piece instead of three messy ones.
I use two claw clips and one duckbill clip to hold everything out of the way while I work through the bottom layer first, then the middle, then the top. Working bottom to top keeps the sections you've already finished out of the heat path for the sections still in progress, so you're not re-warming hair that's already set.
Step 3: Set the right heat and do one slow, steady pass
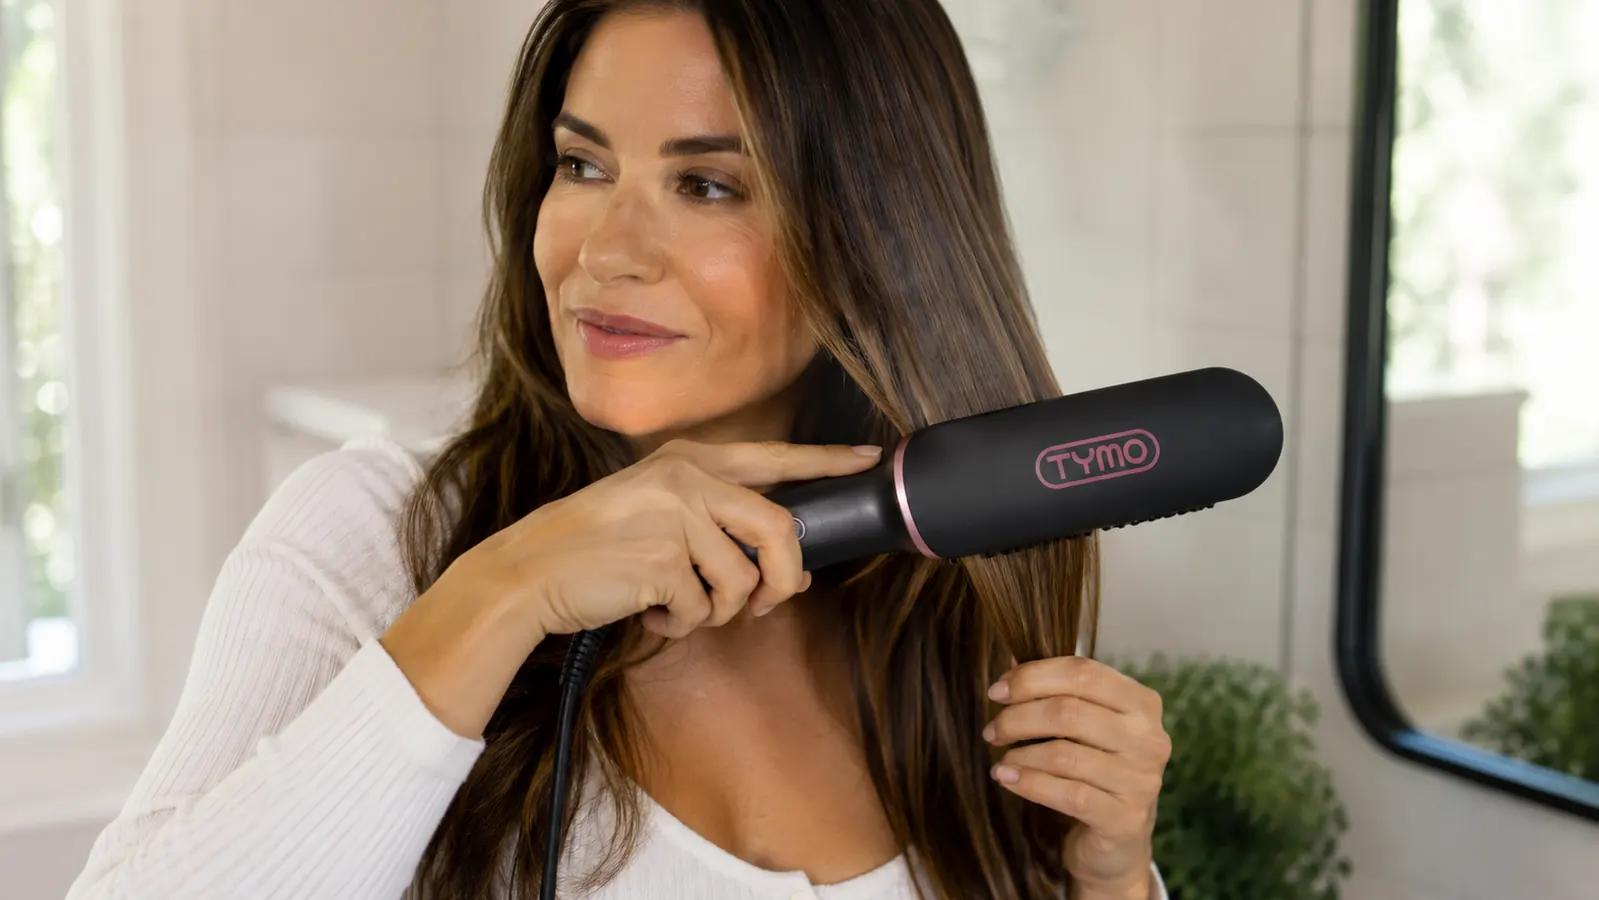
For fine or color-treated hair, I stay around 300 to 330°F. For thick or coarse hair, 350 to 380°F is usually enough, and you shouldn't need to go higher than that with a ceramic ionic plate doing the work for you. The mistake I made for years was cranking the heat up and rushing the pass, thinking more heat meant faster results. It just meant more damage and, ironically, more frizz once the hair dried out, because damaged cuticle doesn't lay flat no matter how straight it looks in the moment.
Glide the brush from root to end in one continuous motion, about 3 to 5 seconds per section. Don't stop midway and don't go back over a section immediately, let it cool for a few seconds first. Hair sets its new shape as it cools, so re-touching it while it's still hot just undoes the work.
The ionic technology in a brush like the TYMO Ring is doing something a plain ceramic flat iron doesn't: it's breaking up water molecules into smaller particles as it passes over damp hair, which is part of why one slower pass outperforms three rushed ones. Give the tool a beat to actually do that job instead of muscling through it.
The rounded bristle design also matters more than it sounds like it would. A flat plate can only smooth the top layer it's pressed against, so you end up flipping and repositioning constantly to catch every angle of a section. The brush shape wraps around the hair as it passes through, hitting the sides as well as the top and bottom in the same motion, which is a big part of why this routine takes under 10 minutes once you've done it a few times.
Step 4: Point the ends slightly downward and inward
The last two inches of hair are usually where frizz shows up first, because ends are the oldest, driest part of the strand. As you finish each pass, angle the brush slightly toward your face and curve the ends under rather than letting them flick out. This one small wrist movement is the difference between a flat, polished finish and hair that looks straight but still has that wiry, staticky edge along the bottom.
If you have layers, do a second, faster pass on just the shorter face-framing pieces since they tend to spring back to their natural texture first. Those pieces sit closest to your face and catch the most humidity from your own breath and skin, so they need a touch more attention than the rest of your hair.
Step 5: Lock it in with a cool-air pass and a light anti-humidity spray
Once every section is done, run your fingers through your hair to check for any missed pieces near the nape or behind the ears, those spots are easy to forget. Then finish with a cool blast from a hair dryer on the no-heat setting, or just let your hair sit for two minutes before touching it. This closes the cuticle while it's in its new smooth shape, which is the same principle stylists use when they do a final cool-shot pass after a blowout.
Finish with a light mist of anti-humidity spray or a small amount of hair oil rubbed between your palms and smoothed over the surface, not through the roots. This is what actually extends your results into the afternoon instead of watching frizz creep back in by lunch. On especially humid or rainy days, I'll add a second, even lighter coat about an hour after I leave the house, just enough to refresh the seal without weighing hair down.
Common Mistakes That Bring Frizz Right Back
Touching your hair too much throughout the day is one of the biggest culprits. Every time you run your hands through freshly styled hair, you're transferring oil and moisture from your palms back into strands that just spent 10 minutes getting sealed. I try to keep my hands off my hair for at least the first hour after styling, which is usually enough time for the cuticle to fully settle.
Skipping the cool-air step is another one. It feels like an unnecessary extra step when you're already running late, but hair set with heat and released while still warm is far more likely to spring back toward its natural texture within the hour. The two minutes it takes to cool down is genuinely one of the highest-leverage steps in the whole routine.
Using too much product is a quieter mistake. More anti-humidity spray or more oil doesn't mean more protection, it usually just means greasy-looking roots and hair that attracts dust and lint faster. A little goes further than people expect, especially with a well-formulated product.
What Else Helps Keep Frizz Away Between Styles
A silk or satin pillowcase makes a bigger difference than most people expect, it reduces the friction that roughs up the cuticle overnight. I also stopped brushing my hair dry with a regular paddle brush and switched to finger detangling or a wide-tooth comb, since dry brushing breaks the cuticle and creates static. On humid days, I'll do a quick 10-second touch-up pass with the same straightener brush on just my part line and face-framing pieces instead of restyling my whole head.
Diet and hydration play a smaller but real role too. Hair that's chronically dry from the inside out (not enough water, not enough healthy fats) tends to seek out moisture from the air more aggressively, which shows up as frizz faster than well-hydrated hair. It's not a fix on its own, but it's worth mentioning if you've nailed the routine above and are still seeing more frizz than expected.
Trims matter here too. Split ends fray and separate, and once a strand splits it grabs humidity from both broken pieces instead of one clean shaft. A trim every 10 to 12 weeks keeps the ends sealed enough that your straightening routine actually has something smooth to work with.
Frizz isn't a hair type. It's a sequence problem, fix the order you do things in and the same hair behaves completely differently.
Ready to stop fighting frizz every morning?
The TYMO Ring straightener brush heats evenly, glides without snagging, and doubles as a detangler on rough mornings. It's the one tool in my routine that actually gets used daily instead of collecting dust in a drawer.
Amazon See Today's Price on Amazon →