
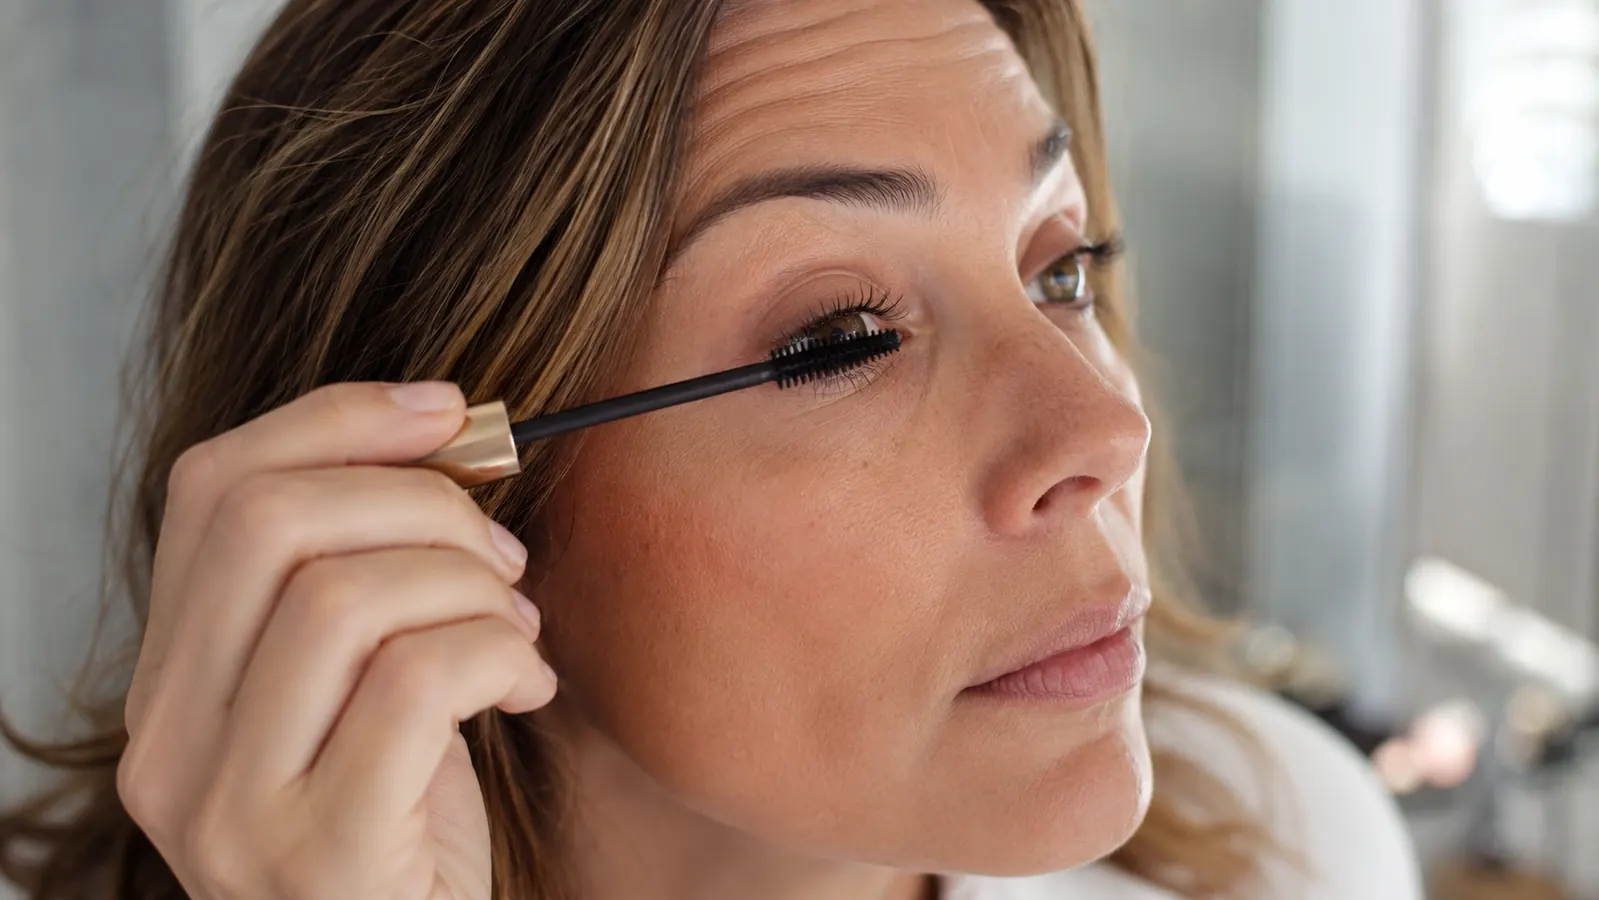
I spent years assuming clumpy lashes were a mascara problem. I'd blame the formula, toss the tube, and buy something twice the price hoping it would fix things. It never did. What actually fixed it was changing how I put the mascara on, not what I was putting on. Once I switched my technique, even a budget drugstore tube like Maybelline's Lash Sensational Sky High started looking like a salon lash lift.
Clumps, spider lashes, and that raccoon-eye smudge under your eyes by lunchtime all come from the same handful of mistakes: too much product on the wand, the wrong angle, rushing between coats, or skipping the one step almost nobody talks about. Below is the exact routine I use now, five steps, plus a section on what to grab when your lashes need a little more help before the mascara even goes on.
Skip the guesswork and start with a wand built for separation
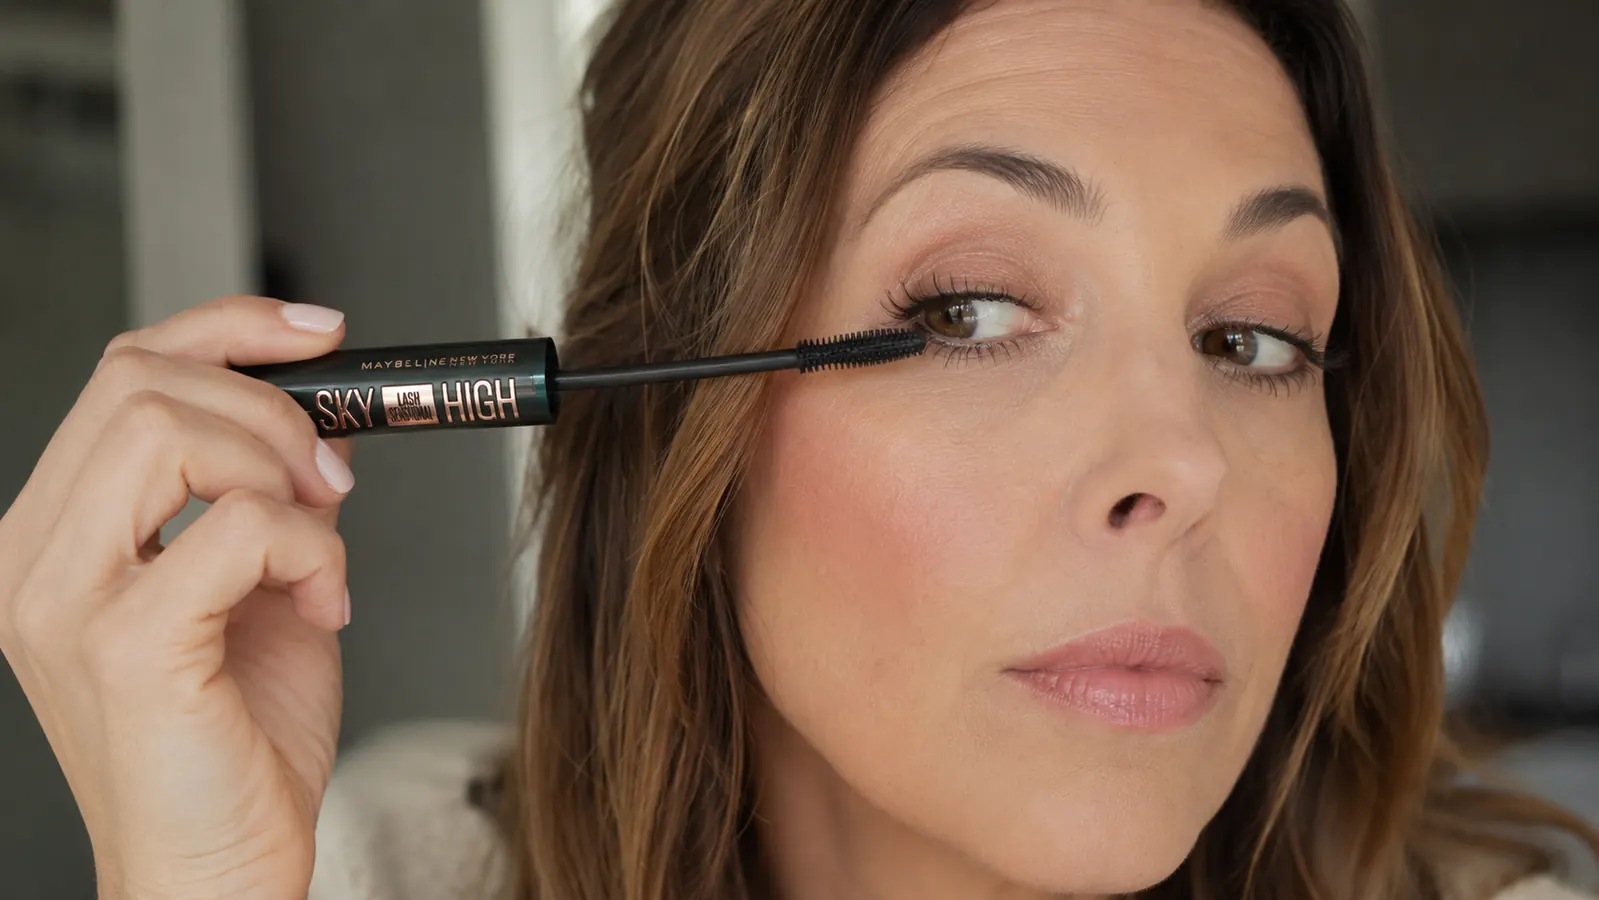
A lot of clumping is a wand problem before it's a technique problem. Maybelline's Sky High has a tapered plastic bristle brush that grabs every lash individually instead of gluing them into a clump. It's the mascara I switched to for this exact routine.
Amazon Check Today's Price on Amazon →Step 1: Curl before you coat, not after
If you use an eyelash curler, do it on completely bare lashes. Curling over mascara is how lashes snap or crimp mid-shaft, and it's a fast way to end up with a weird kink instead of a clean curve. Curl for about 10 seconds at the base, then again lightly at the tips. If your lashes are naturally straight or you're using a heated curler, this step matters even more, because mascara sets the shape you give it. Whatever curve you put in before the wand touches your lashes is roughly the curve you're stuck with for the day.
I skipped this step for years because it felt like an extra five minutes I didn't have. It's actually closer to fifteen seconds per eye. The payoff is that your mascara has something to hold onto. Coating flat lashes just weighs them down straight, which is part of why they look clumped and stubby instead of long and lifted.
One thing worth mentioning, since it trips people up: if you're using a heated lash curler, wait until your lashes have fully cooled before you go anywhere near them with mascara. Warm lashes are more pliable, which sounds like a good thing, but it also means the curl relaxes faster once product weight is added. Give it 10 to 15 seconds after curling before you pick up the wand. I learned this the hard way after wondering why my curl kept falling flat by 10am even though the curler itself worked fine.
Step 2: Wipe the wand before it touches your lashes
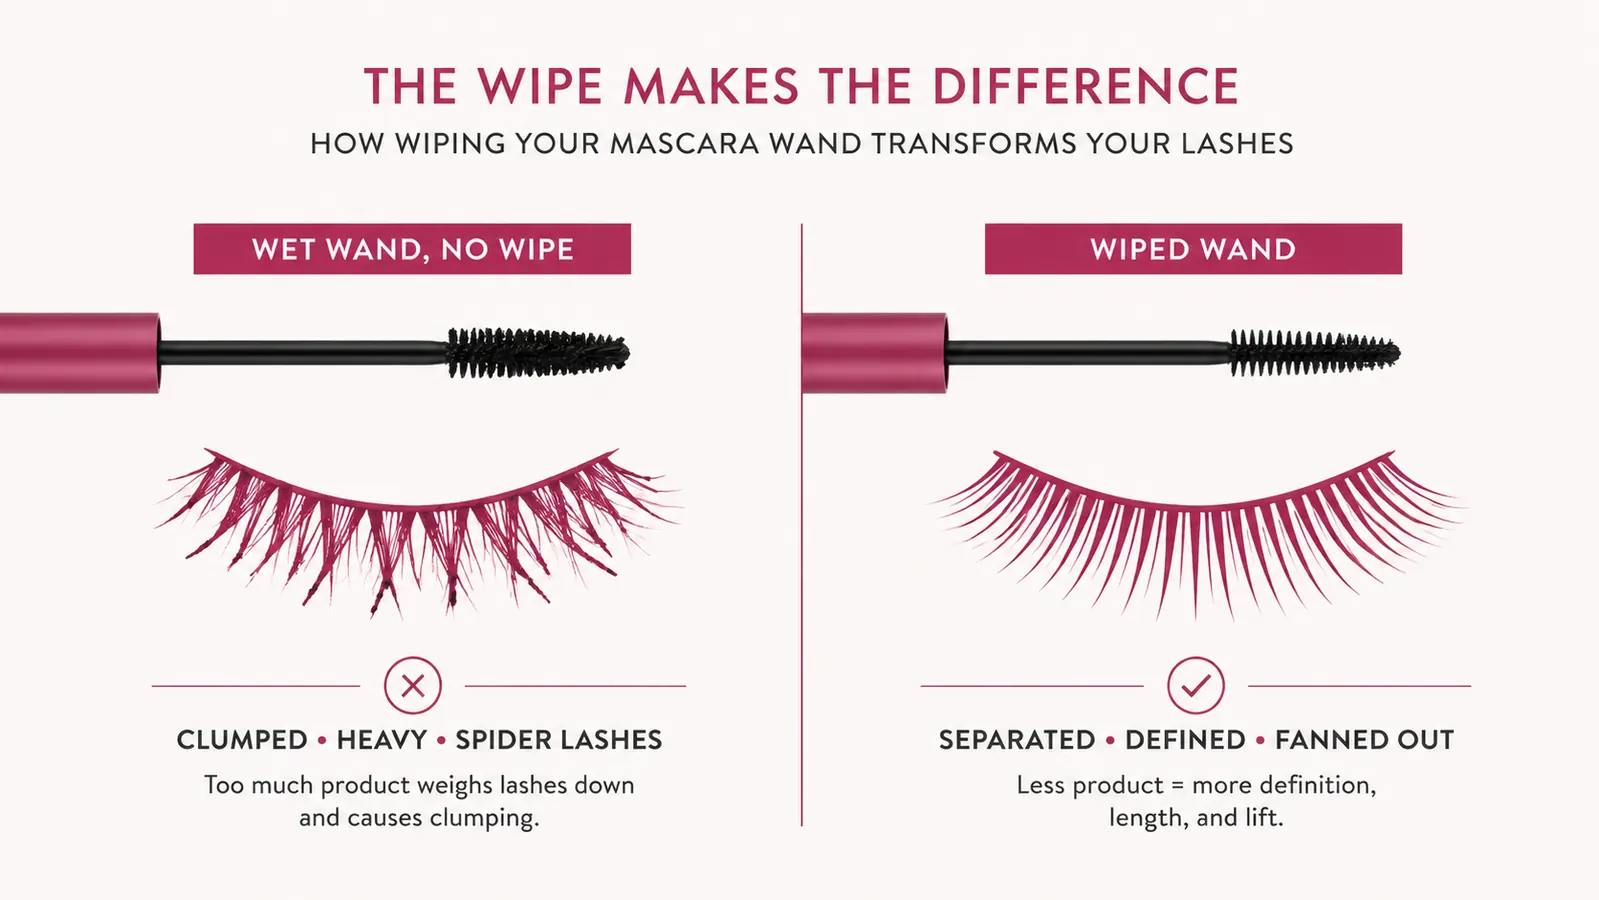
This is the step that fixed 90 percent of my clumping, and it's the one almost nobody does. Pull the wand out of the tube and wipe one side against the rim of the tube opening, or against a tissue if the tube opening doesn't give you enough control. You're not trying to remove all the product, just the excess glob that sits on the bristles after the wand travels up through the tube.
Too much product on the wand is the single biggest cause of clumps. It's also why a fresh new tube can somehow look worse than one you've had for a month, the formula hasn't had time to dry down slightly inside the tube yet, so early applications tend to be wetter and heavier. Wiping the wand controls for that every single time, regardless of how new or old the tube is.
You'll know you're wiping correctly if the wand still looks fully coated but no longer has a visible bead of product sitting on the bristles. If you wipe so much that the brush looks dry or patchy, you've gone too far and you'll end up under-applying, which just means more coats and more chances for buildup. It's a small window, but you'll find it within a few tries.
The Wand Angle Most People Get Wrong
Most of us hold the wand vertically and drag it straight up from root to tip in one motion, the way it looks in every mascara ad. That single upward sweep is exactly what deposits product unevenly and creates clumps at the tips where the formula pools.
Instead, hold the wand horizontally, almost flat against your lash line, and place it at the very base of your lashes, as close to your eyelid as you can get without smudging your lid. Wiggle it gently side to side for about two seconds. This works the product into the base of each individual lash and helps separate them from each other before you ever start moving upward. Once you've wiggled at the root, then sweep the wand upward and slightly outward in one smooth motion, rotating your wrist a little as you go to fan the lashes toward your temple.
The wiggle-then-sweep motion takes maybe three extra seconds per eye compared to just dragging the wand up. That's the whole trade. Three seconds for lashes that look separated instead of matted together in one dark blob.
The wand angle change alone fixed more of my clumping than switching mascaras ever did, and I switched mascaras a lot before I figured that out.
Step 3: Do outer corners and inner corners separately
Your outer lashes are usually longer and can take a full sweep. Your inner corner lashes are shorter, more delicate, and easiest to smudge or clump because there's less room to maneuver the wand. Turn the wand vertically for the inner corners and use the tip of the brush in small upward flicks instead of trying to drag the full wand through that tight space.
I used to rush this part and just muscle the same wand angle through my whole lash line. The inner corners were always where I ended up with a stubborn clump because the wand simply doesn't fit that space the same way. Slowing down for those last few lashes on each eye is a ten-second fix for a problem that otherwise shows up in every close-up photo.
Lower lashes deserve their own quick mention here too, since they're the number one cause of under-eye smudging by midafternoon. Use the very tip of the wand, hold it vertically, and apply one light coat only. Lower lashes are shorter and finer, so they don't need the volume a full horizontal sweep gives your upper lashes, and a heavy hand here is exactly what transfers onto your under-eye skin a few hours later.
Step 4: Let the first coat dry for 20 to 30 seconds before the second
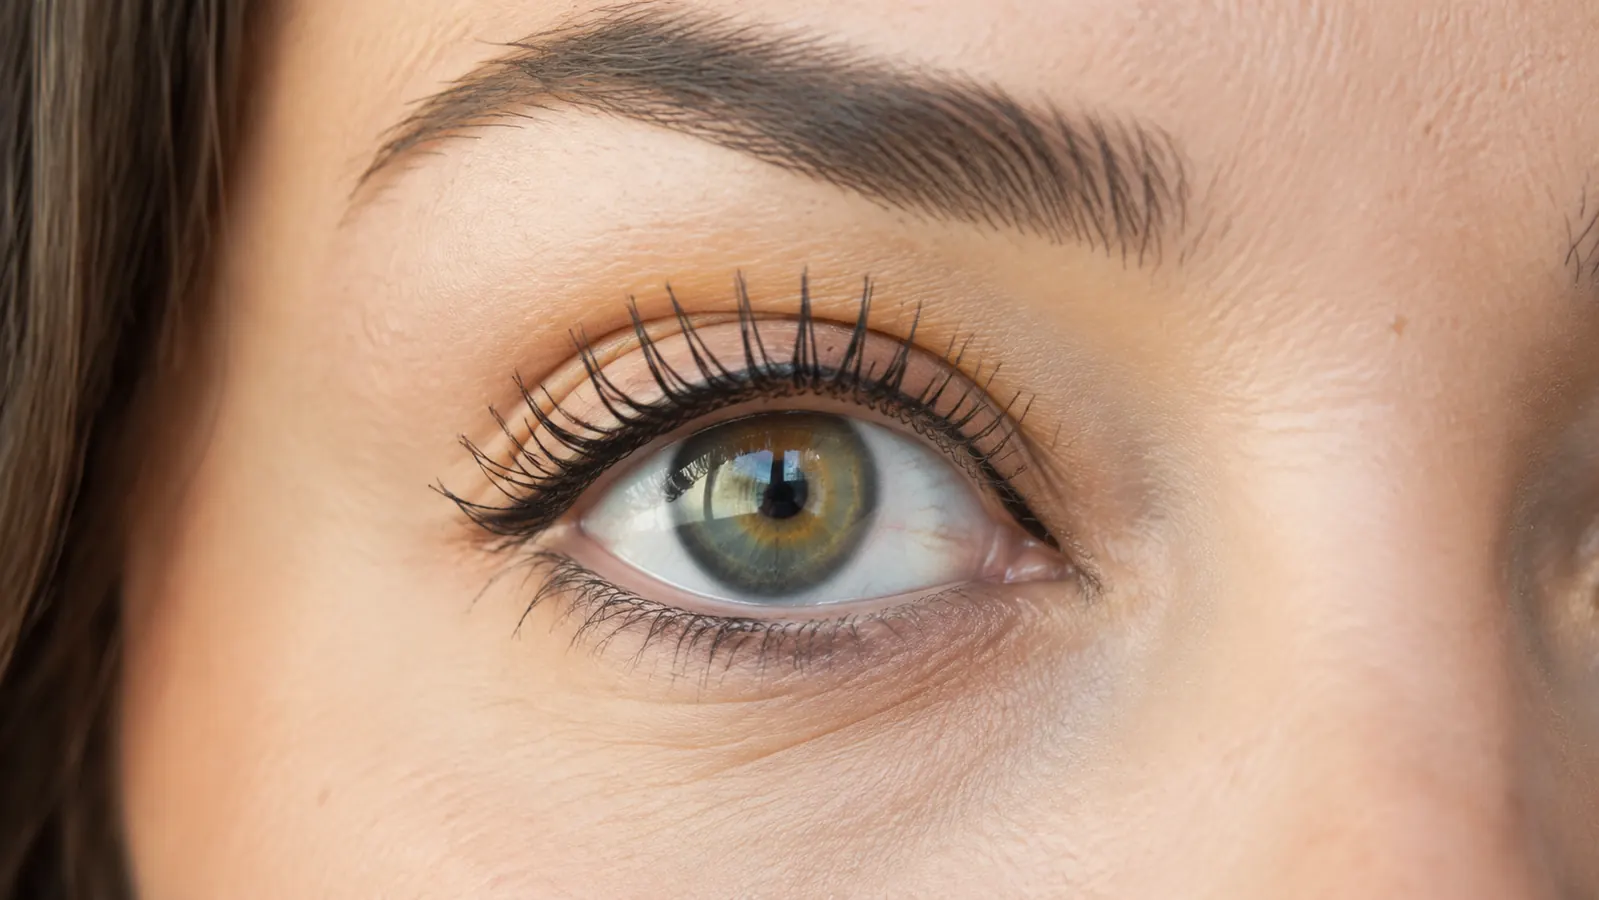
This is where most clumping actually happens, not in the application itself but in how fast people go back in for a second coat. Applying a wet second coat directly onto a wet first coat is how you get spider lashes, that fanned-together, glued-clumps look where you can't tell one lash from the next.
Do one eye, then move to the other eye and do your full application there. By the time you circle back to the first eye for a second coat, usually 20 to 30 seconds have passed and the first layer has set enough to build on instead of smear into. If you want a third coat on your outer lashes for extra length, wait the same amount of time again. Patience here is the difference between definition and mush.
Step 5: Comb through with a clean spoolie while it's still slightly tacky
Keep a clean spoolie brush on hand, they're usually a dollar or two at the drugstore, or you can wash and reuse an old mascara wand once the tube is empty. Right after your last coat, while the mascara is still slightly tacky, comb through your lashes from root to tip. This breaks up any clumps that formed during application and re-separates lashes that stuck together.
If you wait until the mascara is fully dry to comb through, you'll just flake product off instead of redistributing it. The window is small, maybe 15 to 20 seconds after your final coat, so have the spoolie ready before you finish the last sweep, not after.
The Underlying Reason Wand Shape Changes the Whole Routine
I used to think all mascara wands were interchangeable and the formula was the only thing that mattered. Switching to Maybelline's Sky High changed my mind. Its wand is a tapered, flexible plastic brush with bristles of varying length, thicker in the middle and shorter at both ends, which means it naturally hugs the curve of your eye and catches those tricky inner and outer corner lashes without you having to fight the brush shape.
A dense, rounded fiber brush, the kind that used to be standard on a lot of drugstore mascaras, tends to deposit more product per stroke, which makes the wiping step in Step 2 even more important. A tapered plastic wand like this one is more forgiving if you slightly overload it, because the bristle spacing keeps lashes from sticking together as easily. Technique still matters more than the wand, but the right wand makes the technique easier to execute correctly on a rushed Tuesday morning.
What Else Helps
A few small habits outside the five steps make a bigger difference than people expect. First, don't pump the wand in and out of the tube to load it up. That motion pushes air into the tube, which dries the formula out faster and is one of the most common reasons a perfectly good mascara starts clumping after a few weeks even though nothing about your technique changed. Twist the wand as you pull it out instead.
Second, replace your mascara every three months. This isn't just a hygiene rule, though it matters for that too, since mascara is one of the few products that touches a mucous membrane every single day. A tube past its prime also gets drier and clumpier no matter how careful your technique is, because the formula itself is breaking down. If your mascara has started smelling slightly different or feels noticeably thicker pulling out of the tube than it did a month ago, that's your sign.
Third, apply mascara last in your eye makeup routine, after eyeshadow and eyeliner, not before. Eyeshadow fallout landing on wet mascara is a fast way to create a gritty, clumped texture that's hard to fix without starting over. And if you wear false lashes occasionally, skip mascara on those days entirely, or apply it before the strip lash goes on and let it dry completely first, since layering mascara over a glued strip lash is one of the most common ways lash lines end up matted together by the end of the night.
Once your technique is dialed in, the wand shape does the rest
This whole routine got easier the day I switched to a wand that separates on its own instead of fighting me. Sky High's tapered brush is the one I keep reaching for, and it's the mascara this entire method is built around.
Amazon Check Today's Price on Amazon →